Some of my readers may remember my post from last year, when I wrote about living with Recurrent Corneal Erosion Syndrome (RCES) and how juicing is one of the main ways I keep that beast under control.

The importance of juicing is primarily about lowering inflammation in my body, but I don’t rely on juicing alone to do this job. Enough sleep, exercise, proper overall nutrition, and managing stress levels are also factors. In the past six months, I’ve been regularly drinking green tea and taking Turmeric to assist with inflammation reduction. I actually buy Turmeric by the pound both to use in cooking and to fill veggie capsules myself–it’s much more economical this way.

I love simple ways to incorporate Turmeric into my diet, so today I am sharing two quick and easy recipes: one is a Thai Yam-Carrot Soup recipe and one is Turmeric Hot Cocoa recipe. I’m guessing by now, you’ve heard about Turmeric’s amazing benefits, but in case you haven’t, here’s a link to get you started.
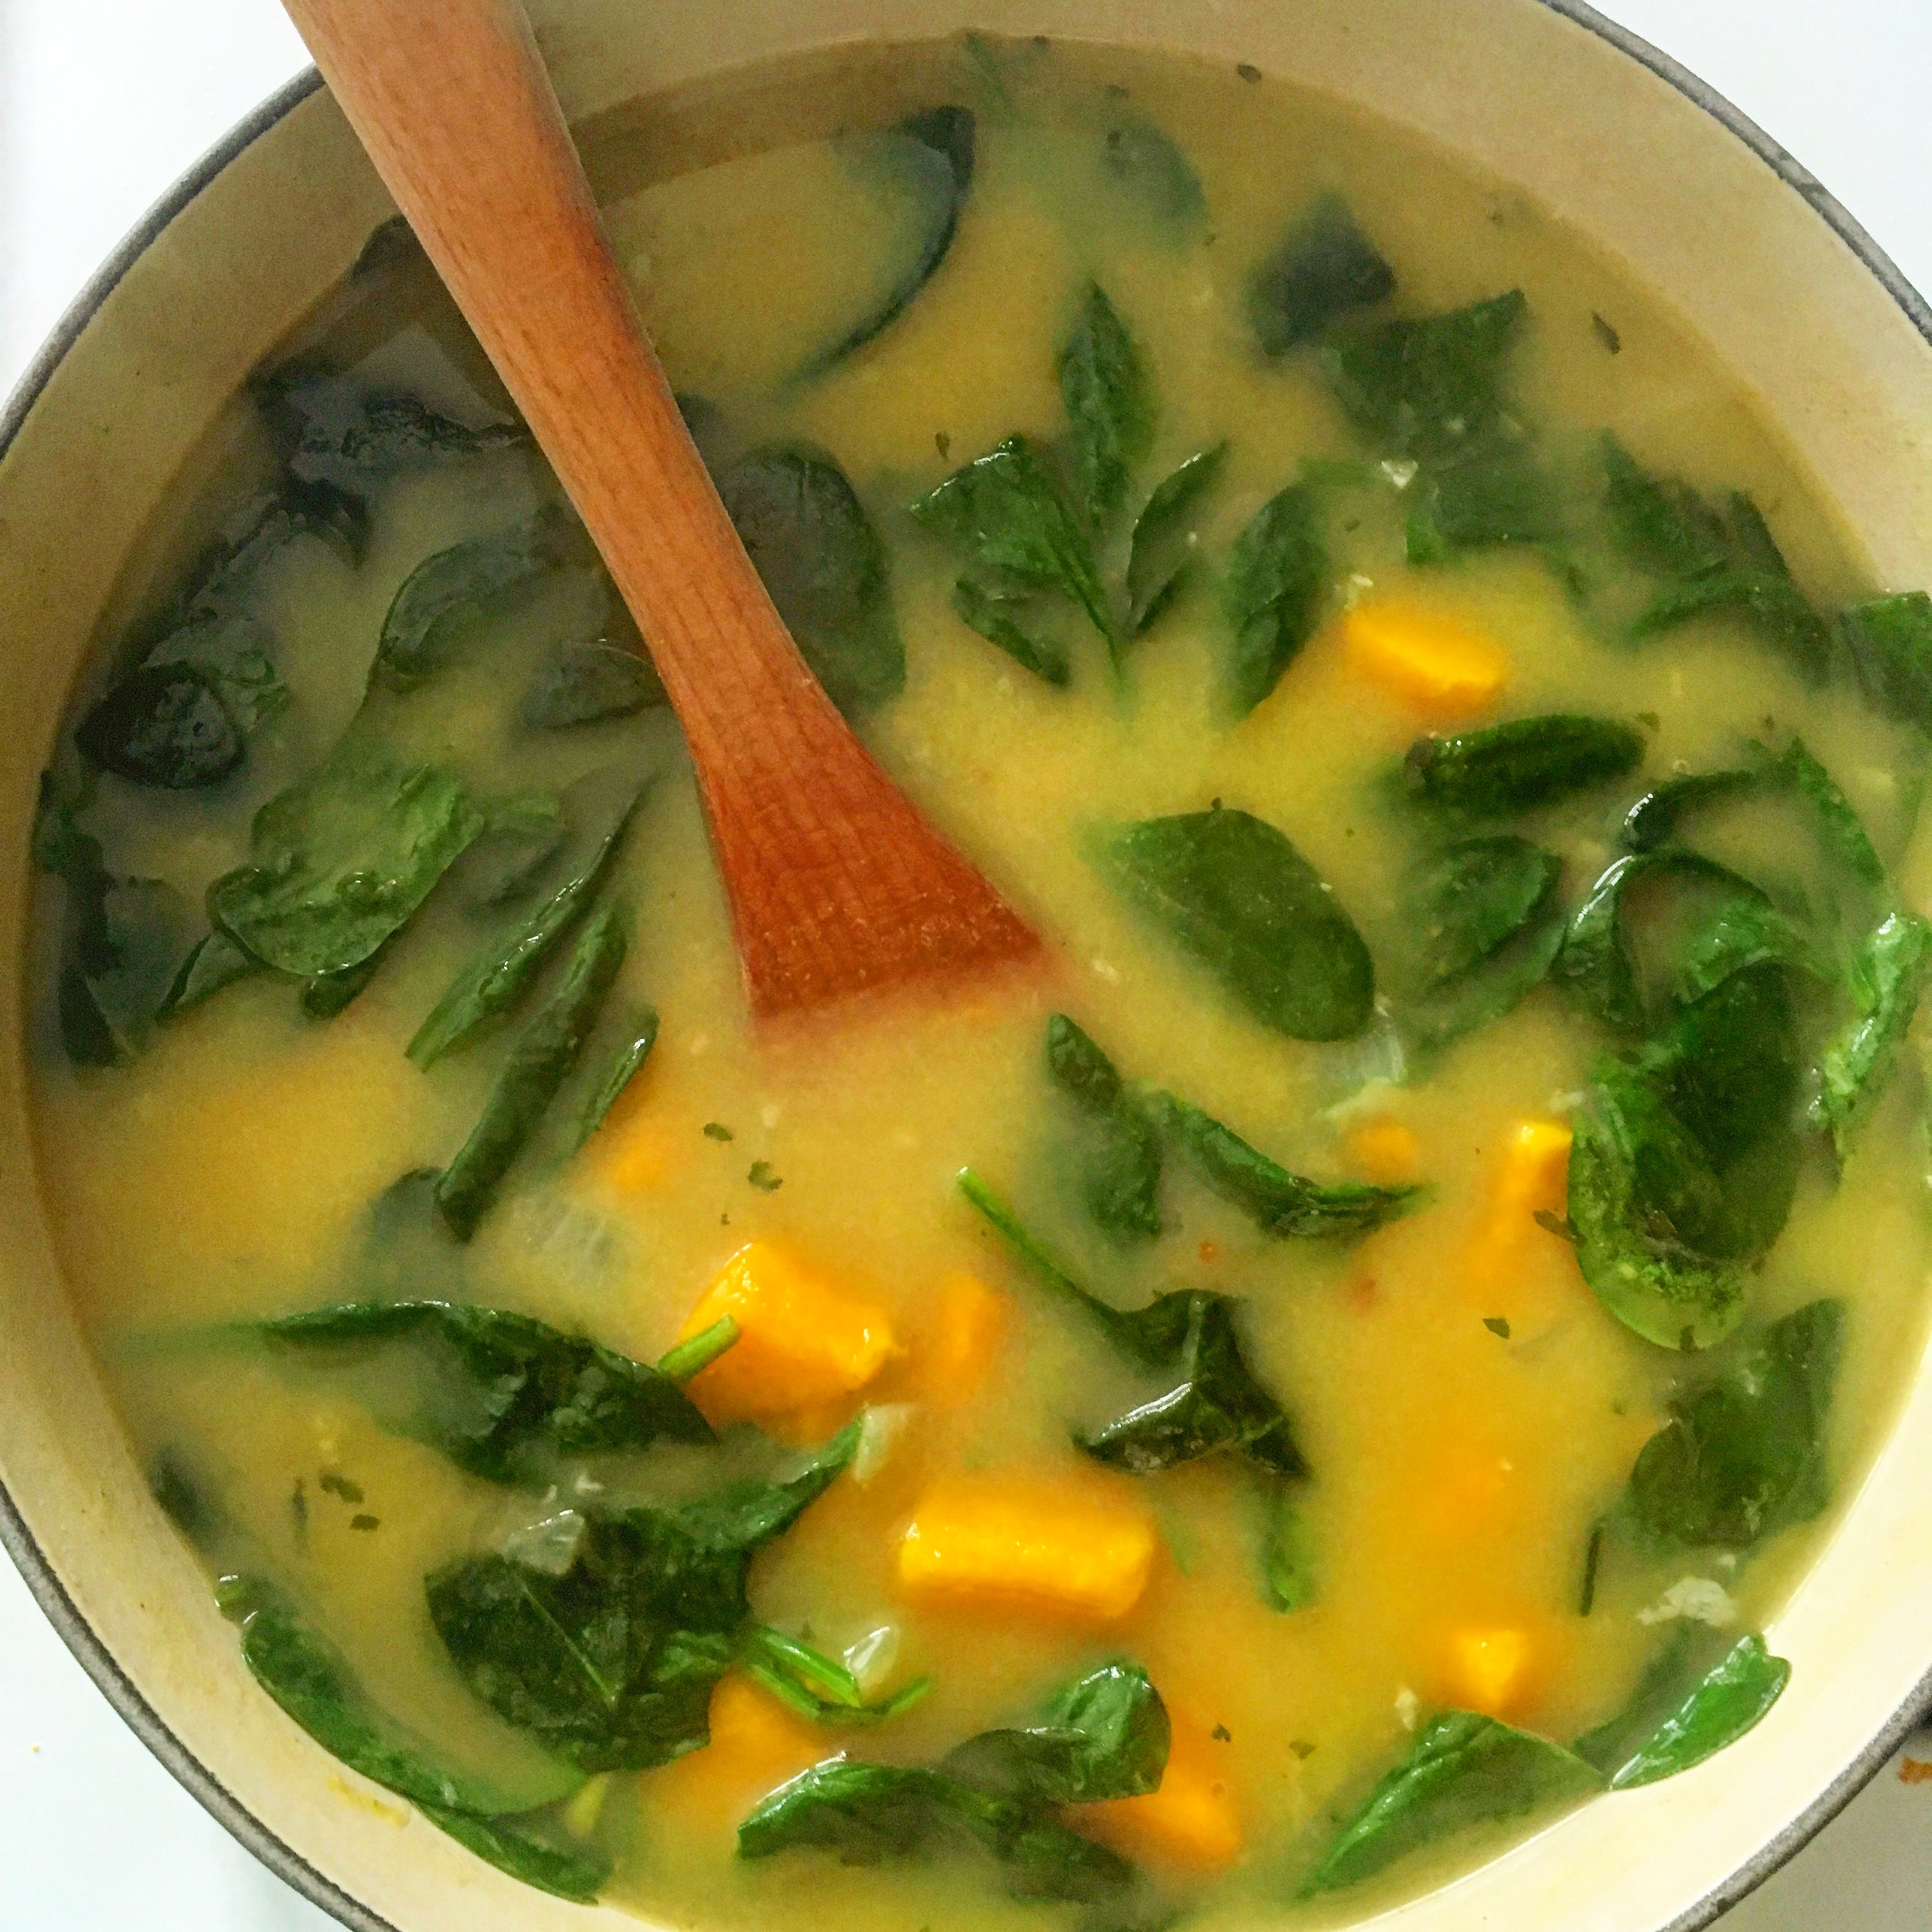
Thai Yam-Carrot Soup
Serves 8, Dairy Free, Gluten Free, Vegan
2-3 Tablespoons olive oil
2 large onions or combination of onions, shallots, leeks (basically whatever you have on hand)
2 inches fresh ginger, peeled and grated, about 2 teaspoons
1 Tablespoon of curry powder
1 teaspoon salt, or to taste
4 cups broth or water ( I used Not Chick’n bouillon cubes)
1 large or 2 medium-sized yams, peeled and cut into half inch pieces
2 lbs carrots, peeled and sliced
1 can coconut milk
Juice of 1/2-1 lime, depending on taste
1/4-1/2 cup chopped cilantro, optional
Heat oil in pan, add onions and cook for 5 minutes on medium heat, stirring often to prevent sticking/burning.
Add ginger, salt, and curry powder and stir to coat onions. Add water or broth, yams and carrots, bring to a boil, reduce heat to a simmer and cook until yams and carrots are soft. Turn off heat. Add can of coconut milk.
Blend with an immersion blender or regular blender. (Make sure you take the center out of the blender lid and cover with a towel if you blend while the soup is hot!!! Otherwise the top will burst off and hot soup will fly everywhere. I learned this the hard way).
Recipe adapted from www.comfybelly.com

Turmeric Hot Cocoa
Serves 1, dairy free, gluten free, vegan
Ingredients
- 1 cup unsweetened almond milk
- 1 teaspoon coconut oil
- 1 tablespoon cacao powder
- 1/2 teaspoon turmeric
- 1/2 teaspoon vanilla extract
- 1/3 teaspoon cinnamon
- 1 tablespoon maple syrup or honey
- A pinch of black pepper
Instructions
- Add all ingredients to blender. Blend well.
- In a small saucepan, bring to a simmer, whisking often, remove from heat, taste, and adjust sweetness if desired.adapted from https://www.natalieshealth.com/cacao-turmeric-maca-hot-chocolate/
If you make either of these recipes, I’d love to know how it turned out! Or if you have favorite anti-inflammatory foods you recommend, feel free to share in comments.